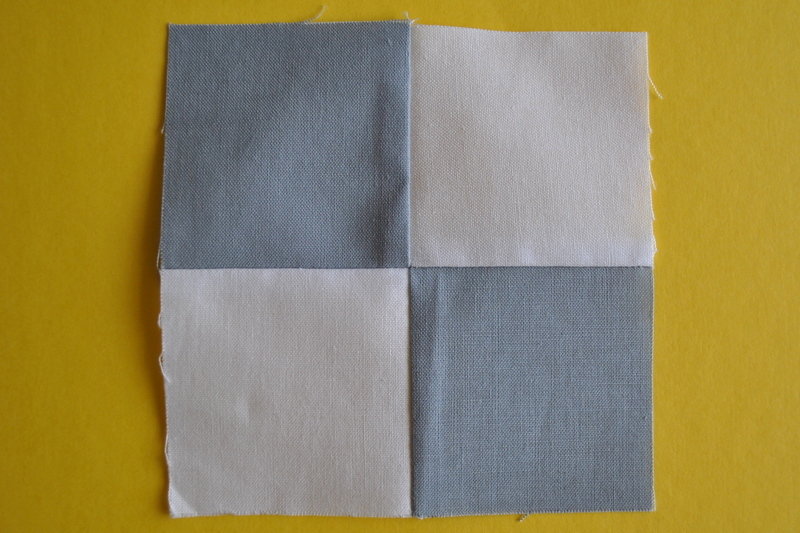
How to Construct a Four Patch Block
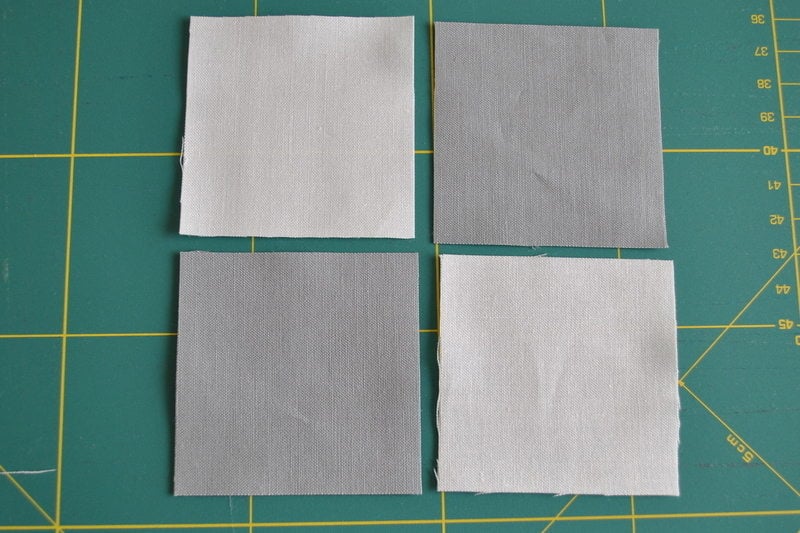
Cut four squares to your required size
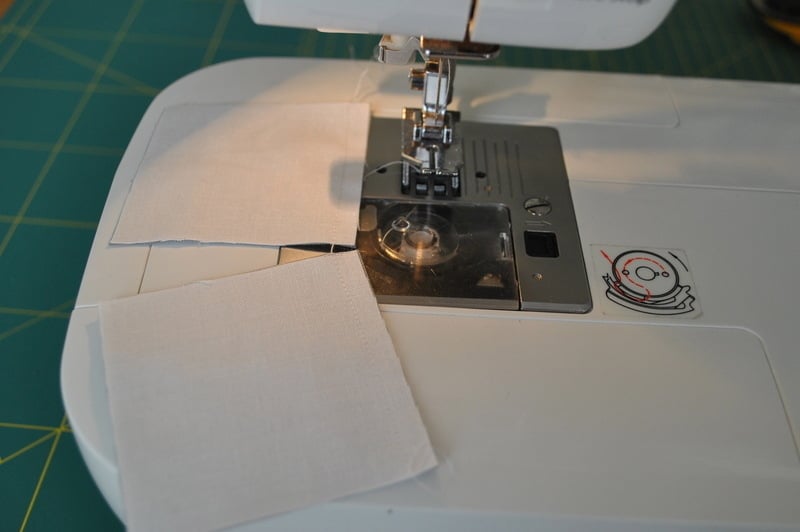
Sew into pairs, you can chain-piece this bit to make things a little faster....
Press seams towards the same colour on each unit
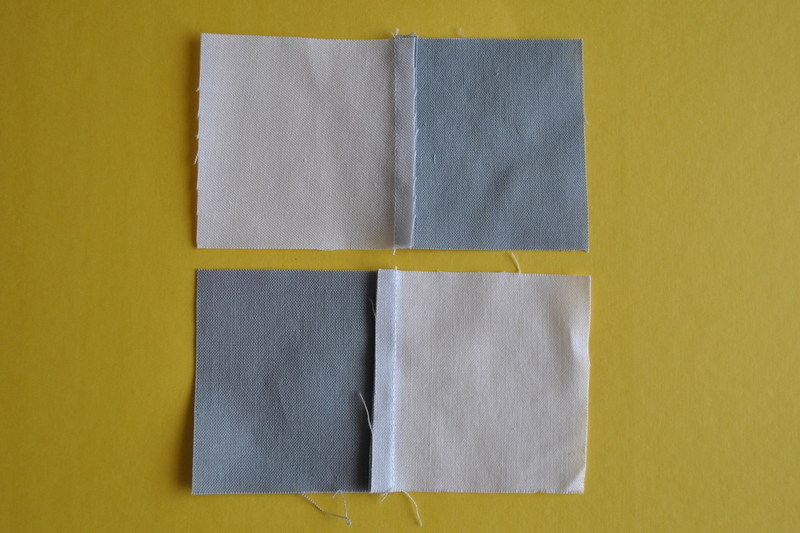
With seams pressed in opposite directions, your units easily lock into each other.
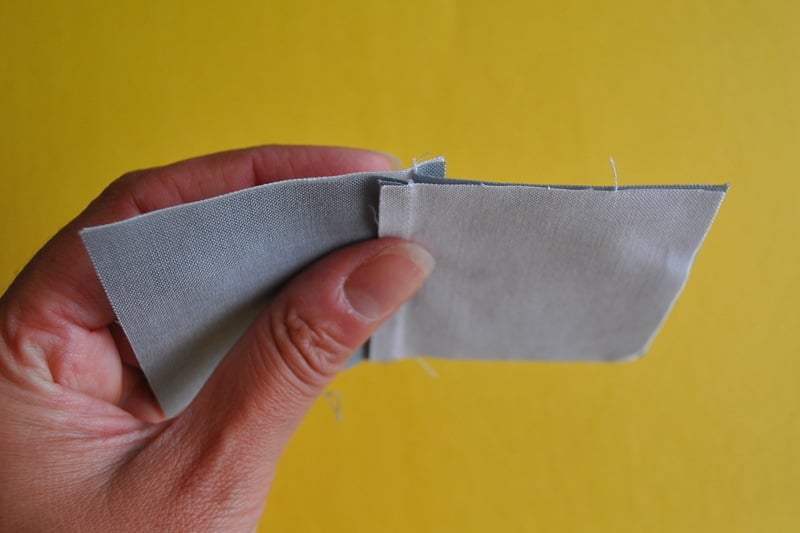
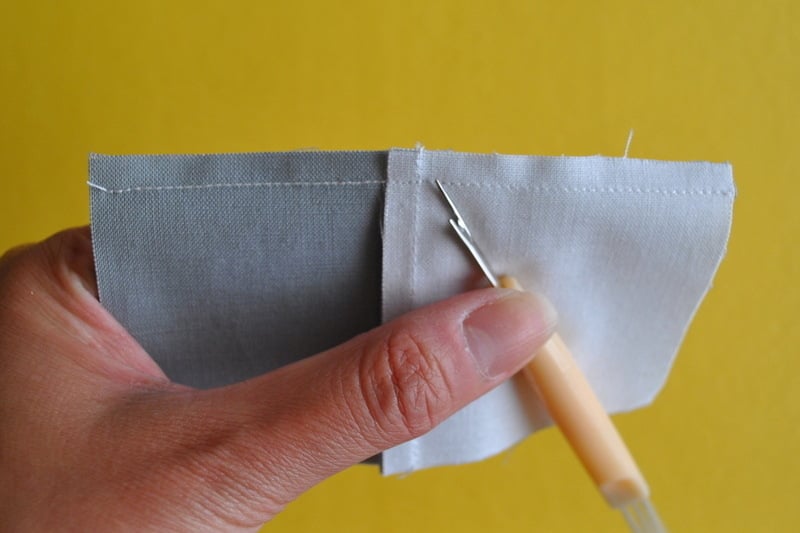
To reduce the bulk in that centre seam, snip a couple of stitches just at the top of the joining seam. This will release the seams so that you can press them in a rotating fashion as in the picture, and will allow them to sit flatter in the centre of your block.
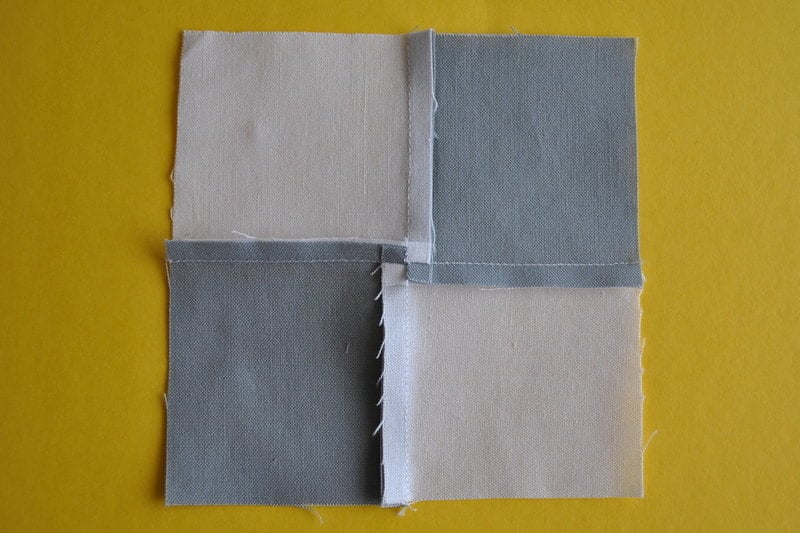
Open out and ta-dahh, you should have perfectly matching points, with no bulk!
